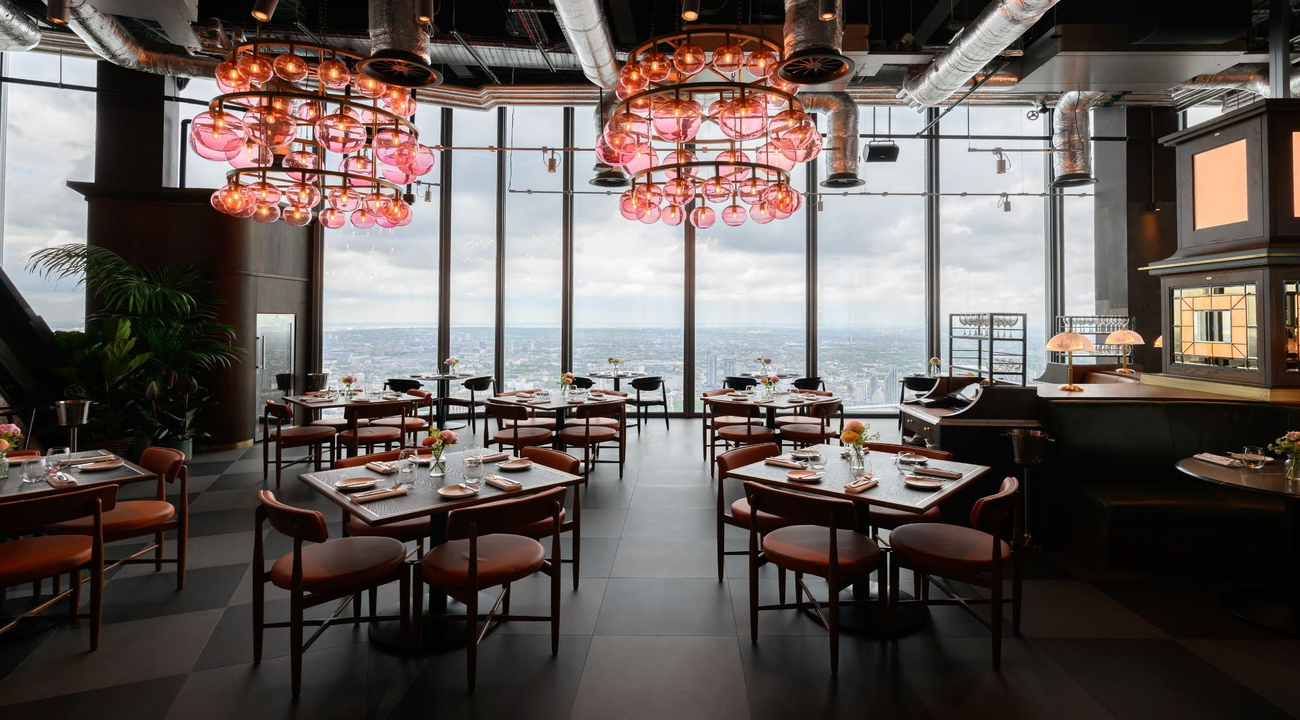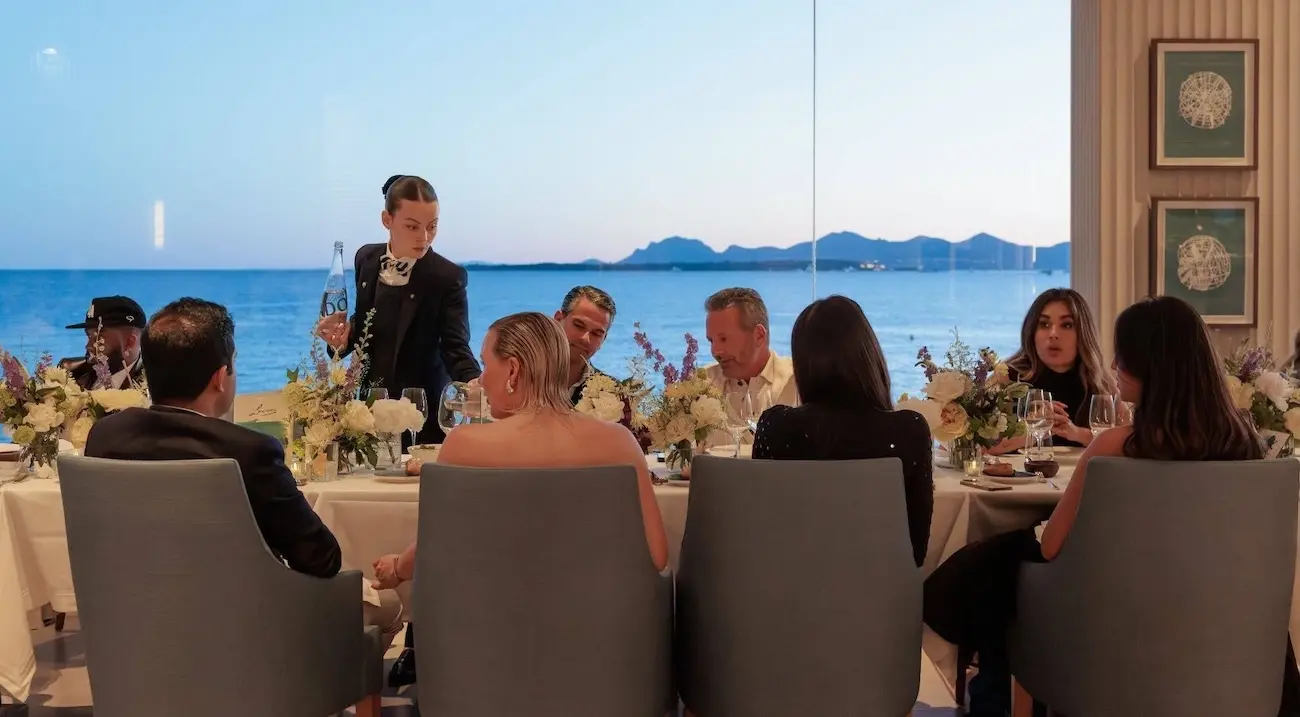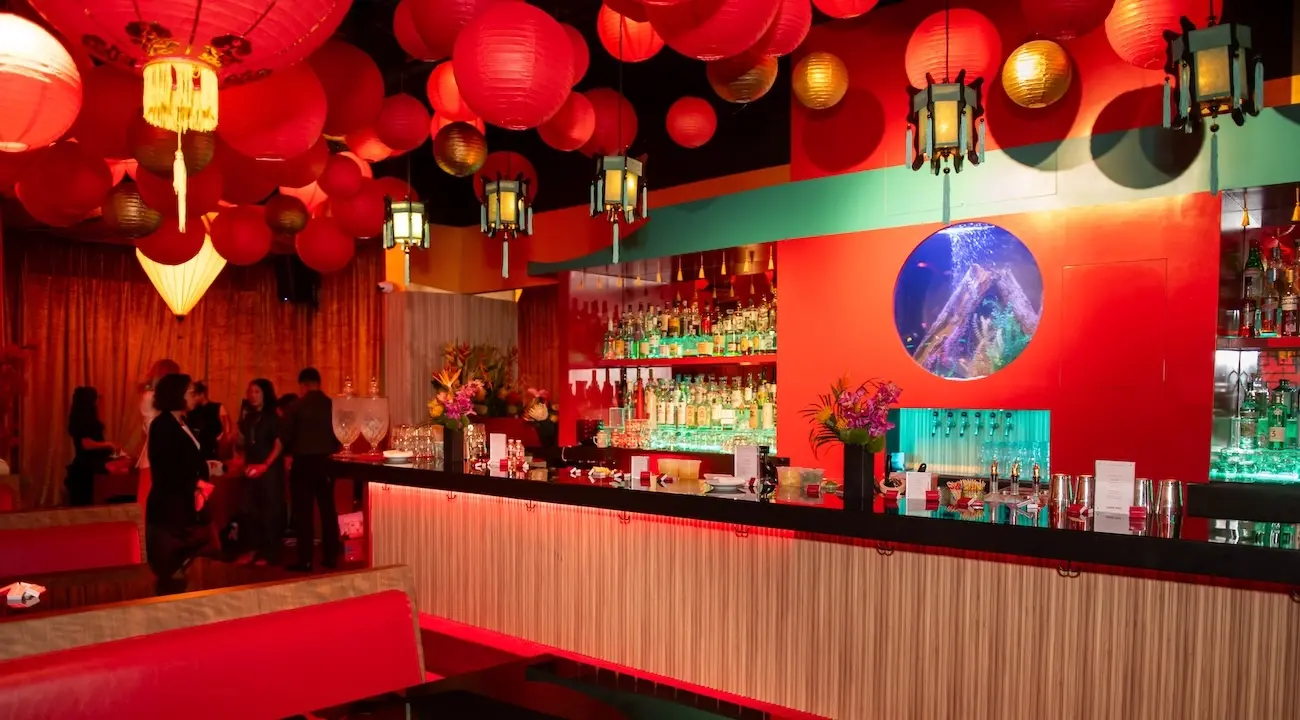
A final venue walkthrough is your last chance to make major changes before the big day.
Typically conducted 24 to 48 hours before event day, a final walkthrough reveals what floor plans and photos can’t: whether the space will really work for your guests.
For event planners, it’s also an opportunity to ask last-minute questions, confirm critical details, spot potential speed bumps, and make informed decisions that ensure a successful event.
From assembling a team to following up with vendors, here are the seven essential steps every professional event planner follows to make their final venue walkthroughs count.
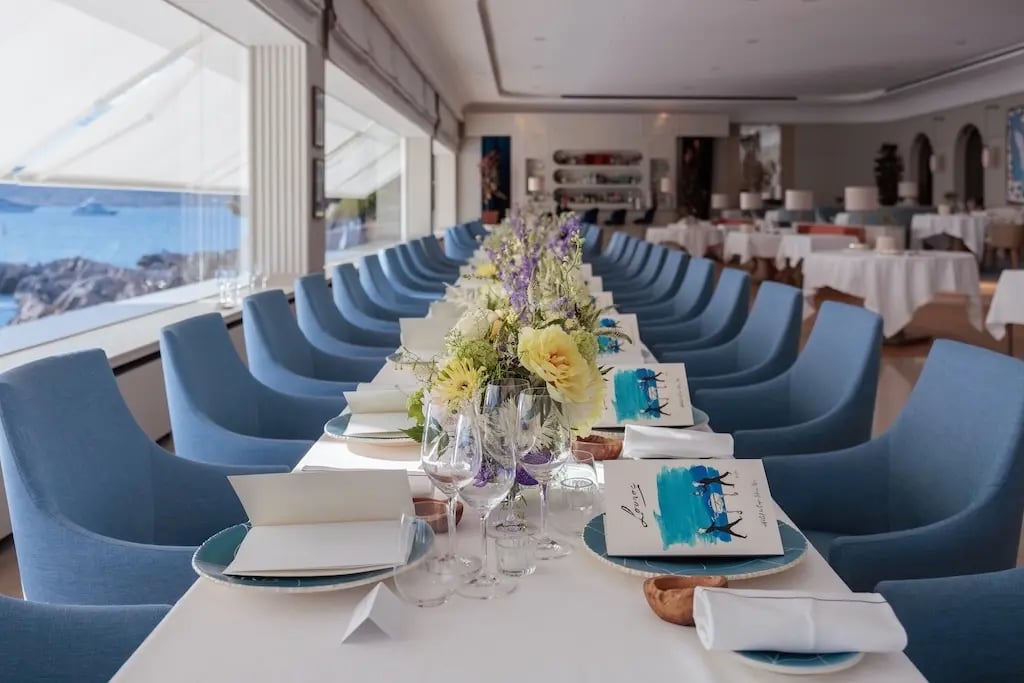
Vogue100 Celebrates the Cannes Film Festival at Hotel du Cap-Eden-Roc, Cannes, France. Photo by Pierrick Rocher / BFA.com © BFA
1. Ask your key players to join you
For your in-person walkthrough, you’ll want to assemble an entire team that includes all of your key players:
- Event manager
- PR/marketing specialist
- Event coordinator
- Creative director
- Technical director
- Production manager
- Venue manager
- Event designer
- Hospitality manager
- Security manager
Schedule your final walkthrough for 24 to 48 hours prior to the event. Confirm the venue’s general manager will be there to walk the space with your team. That way, any important questions or concerns you may have can be addressed on the spot.
If your event will rely heavily on audiovisual experiences, request that the venue’s AV lead, or the AV tech from your event production partner, be on site.
You might like: Everything you need to know about event planning
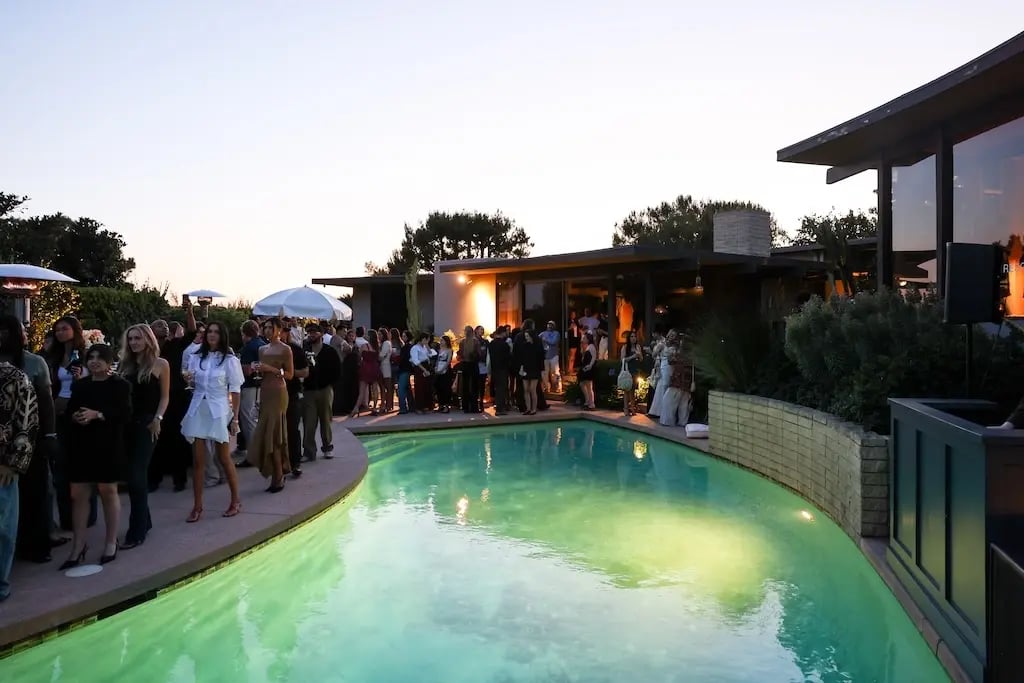
H&M Celebrates the Latest Studio Resort Collection in Los Angeles. Photo by Jojo Korsh / BFA.com © BFA
2. Prepare a list of questions
The best event planning teams approach final walkthroughs with intent and purpose, as well as a list of questions to ask when they’re there. Even if you asked all the relevant questions when you did your original venue tour, now is your chance to check on the nitty gritty details and review points you covered previously but want to double confirm.
By the time you do your final walkthrough, you’ll have all the event details in place. Ask each member of your team to prepare a list of questions that relate to their individual role so that nothing is overlooked. If potential issues arise during the walkthrough, address them immediately.
Tools like zkipster can help here. With centralized guest management and real-time RSVP tracking, your team can arrive at walkthrough already clear on guest counts, preferences, and any special requirements.
It’s also a good idea to double check some of the questions you asked during your first venue tour, such as:
- Is there an event taking place after yours that will require you to vacate immediately, or can guests linger once your event has technically finished?
- Will the venue’s AV lead be on-site during the event in case something goes wrong with the audio/visual systems?
- Are there any specific load-in instructions you need to tell your vendors?
Now is the time to reconfirm logistical details about parking and valet services, WiFi strength, and power capabilities for lighting and visual needs as well. Things may have changed between your original venue tour and final walkthrough.
Related: 72 questions to ask when touring a venue for an event
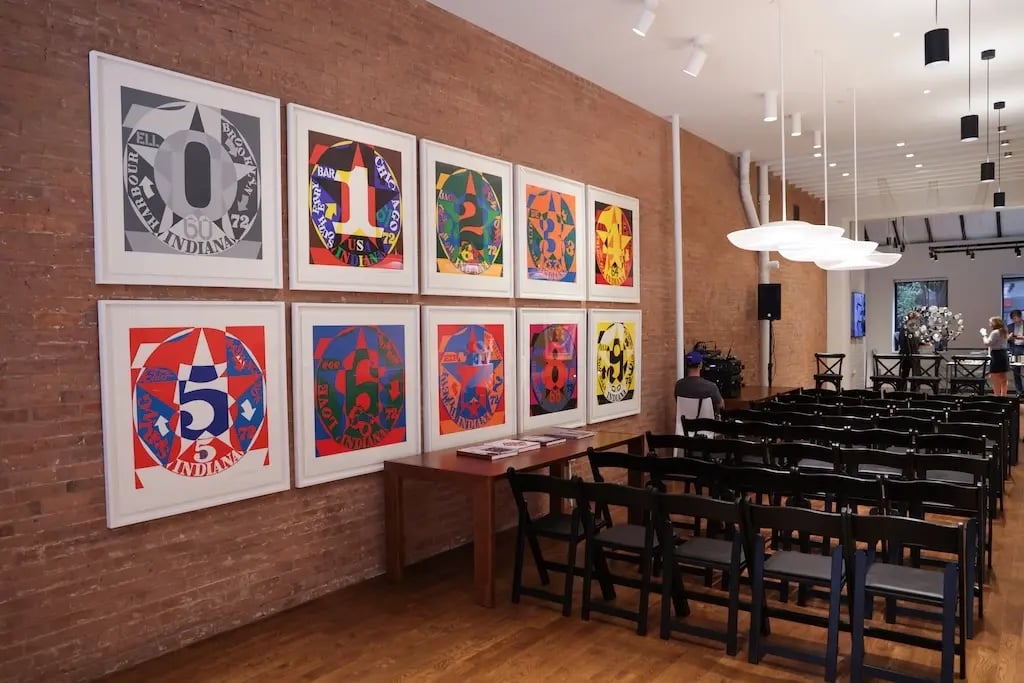
Lucifer Lighting Presents: Made in America Panel at Lucifer Lighting Showroom, NYC. Photo by Vladimir Weinstein / BFA.com © BFA
3. Explore the venue through the eyes of a guest
From the moment you enter, think about how your guests will experience the venue.
Start at the beginning and use the entry your guests will use, make sure the check-in location is in the right space, and confirm that every table, chair, bar, and food station is properly spaced and easily accessible. Be mindful of the flow and how guests will move through the space. If there appear to be bottlenecks, think about how you can alleviate them.
For example, at a zkipster launch event in New York, the venue had a fixed bar at the foot of the stairs leading to the event space, and the event planning team predicted that guests would cluster around the entrance as they ordered drinks at the bar. To avoid crowding, we stationed a staff member on the other side of the room encouraging guests to come over for a specialty drink.
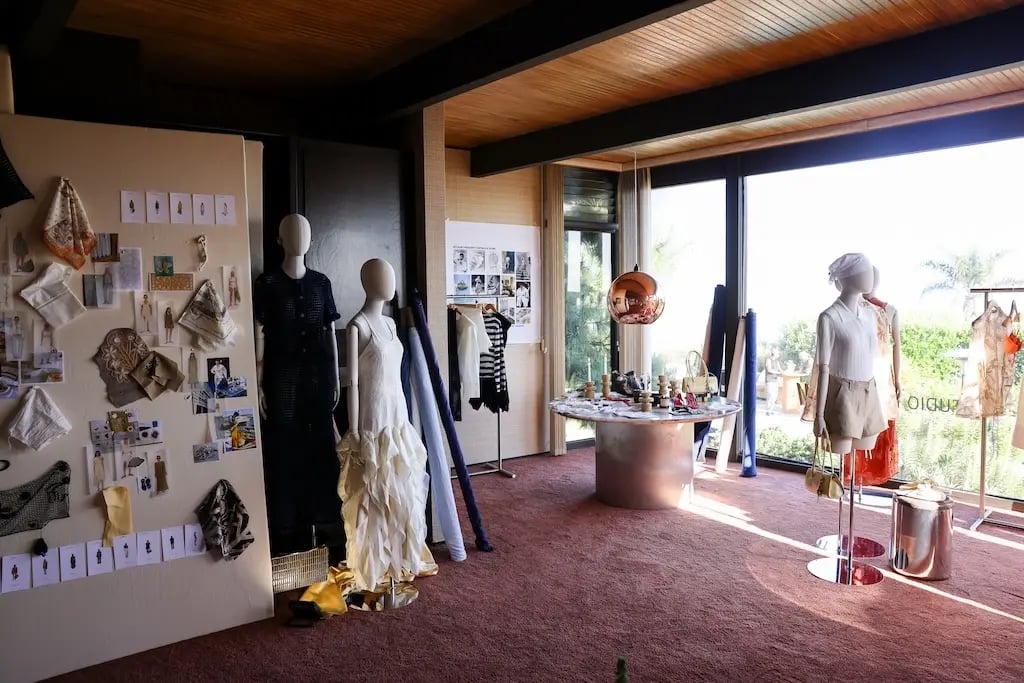
H&M Celebrates the Latest Studio Resort Collection in Los Angeles. Photo by Jojo Korsh / BFA.com © BFA
4. Finalize the layout
By the time you do your final walkthrough, everything will be in position but may require some small changes. Confirm with your team that everything feels like it’s in the right place, including:
- Guest tables and chairs
- Sponsor and VIP tables and chairs
- Stages and dance floors
- Entry points
- Step and repeats
- Check-in registration area
- Tables/displays for escort cards and seating assignments
- Food stations
- Bars
- Entertainment/DJ/band
- Swag bags
When in doubt, think like a guest when making these final decisions. If you’re concerned the space looks too crowded with the current number of tables and chairs, you may want to rethink your seating arrangements or adjust the table layout. By this point you’ll have a final guest count, so you may be able to remove a few seats to free up space.
Should you decide to remove tables, make sure the venue has extra space to store them. If you’re using a rental company, confirm they have up-to-date layout information so they arrive with the right inventory.
Depending on the type of event, you should also confirm space and placement for:
- Auction items (for nonprofit events and charitable fundraisers)
- Product displays (for product launches or art/fashion events)
- Experiential components (like 360 photo booths or pop-up shops)
- Promotional items (for corporate events or networking events)
Confirm that restrooms are clearly signposted and easy to access from key areas of the venue. Don’t overlook accessibility: make sure pathways, entrances, and seating areas accommodate guests with mobility needs, and that any steps or uneven surfaces are clearly marked or have suitable alternatives in place.
Learn how to create layouts and floorplans with the zkipster seating chart app.
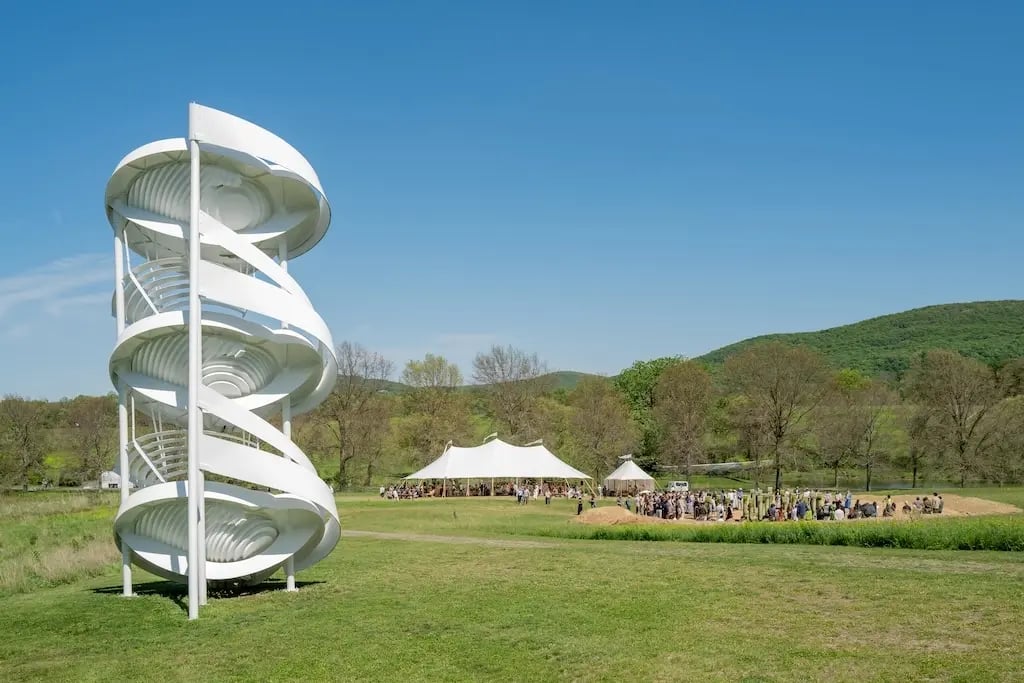
Storm King Art Center Exhibition Opening 2026, New Windsor, New York. Photo by Jason Lowrie / BFA.com © BFA.
5. Review the technical details
During the final walkthrough, pay special attention to technical details that could hinder the guest experience, such as:
- Sight lines from various vantage points
- Potential obstacles or structural elements that could restrict or limit views of stages or presentation areas
- Accessibility of entry and exit points, including emergency exits
- Distances between key areas, such as bar to stage, food station to food station, and entrance to registration
If you decide to reposition some of your event elements, confirm that ceiling height, outlet locations, and power source access points will allow you to do so.
Even for small changes, take photos and notes. Save them in a shared folder so that your creative team, vendors, and production staff can reference the changes.
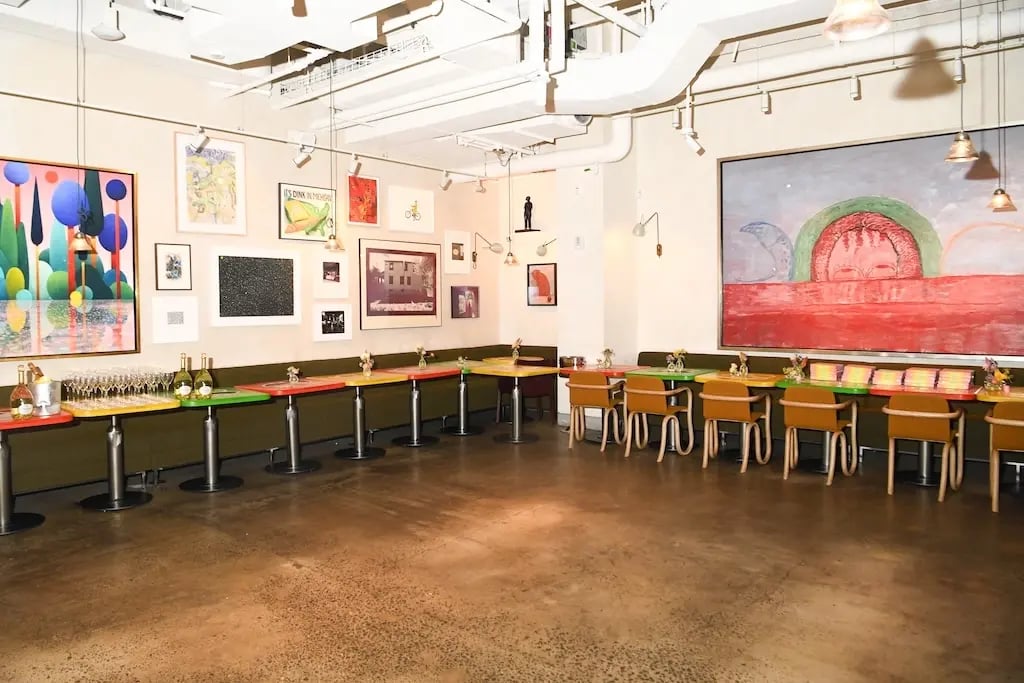
Rainbow Dreams Artist Icons Celebration at Manuela, NYC. Photo by Deonté Lee / BFA.com © BFA
6. Plan for contingencies
For events scheduled to take place outside, make sure that your plan B is also firmly in place.
During the final event venue walkthrough, consider how your back-up plan for inclement weather will allow guests to flow and move throughout the space. If you’re concerned that the space might feel too open or too cramped if you host the event indoors, discuss alternative configurations so that you’re not scrambling to make adjustments at the last minute.
Any elements of your plan B that involve additional rentals or services are worth double-checking for cancellation terms, so you’re not caught off guard.
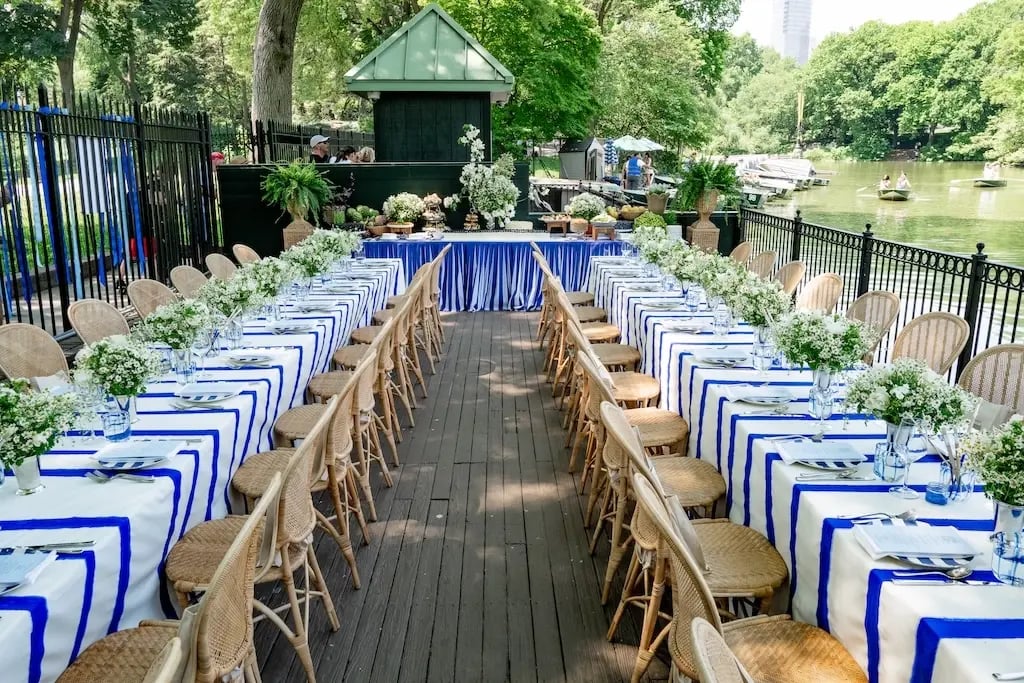
House of Frank & Eileen x Chloe Fineman and Ellen Gunn Event at Central Park Boathouse, NYC. Photo by Jason Lowrie / BFA.com © BFA
7. Do a post-walkthrough follow-up with vendors
After your final walkthrough, check in with your caterer, florist, audiovisual technician, and other vendors. Don’t forget to include any of the venue’s preferred vendors in your follow-up communications, as they may have separate load-in requirements. Confirm check-in times and provide them with all information they need to know about vendor load-ins.
The goal is to make sure everyone understands the expectations for event day. As you follow up, prioritize any vendors whose work was directly affected by changes made during the walkthrough. A florist, for example, may need to adjust arrangements if table positions shifted, while a caterer may need updated access times if the load-in route was changed. Addressing these specifics early avoids last-minute surprises on event day.
Make your venue walkthrough work for you
While the final venue walkthrough is not a time to redesign the entire event, it is one of the last opportunities in the planning process to spot potential issues and come up with solutions. Even small adjustments can improve how guests experience the space.
Header image: Casey Fremont and Leatherology Celebrate the Debut of Leatherology’s Dumpling Collection, Genghis Cohen, Los Angeles. Photo by Steve Lucero / BFA.com ⓒ BFA